Issuing Tickets |

|

|

|

|
||
|
Issuing Tickets |
|
|
|

|

|
Issuing Tickets
|
Issuing Tickets |
|
|
|
|
||
|
Issuing Tickets |
|
|
|
|
|
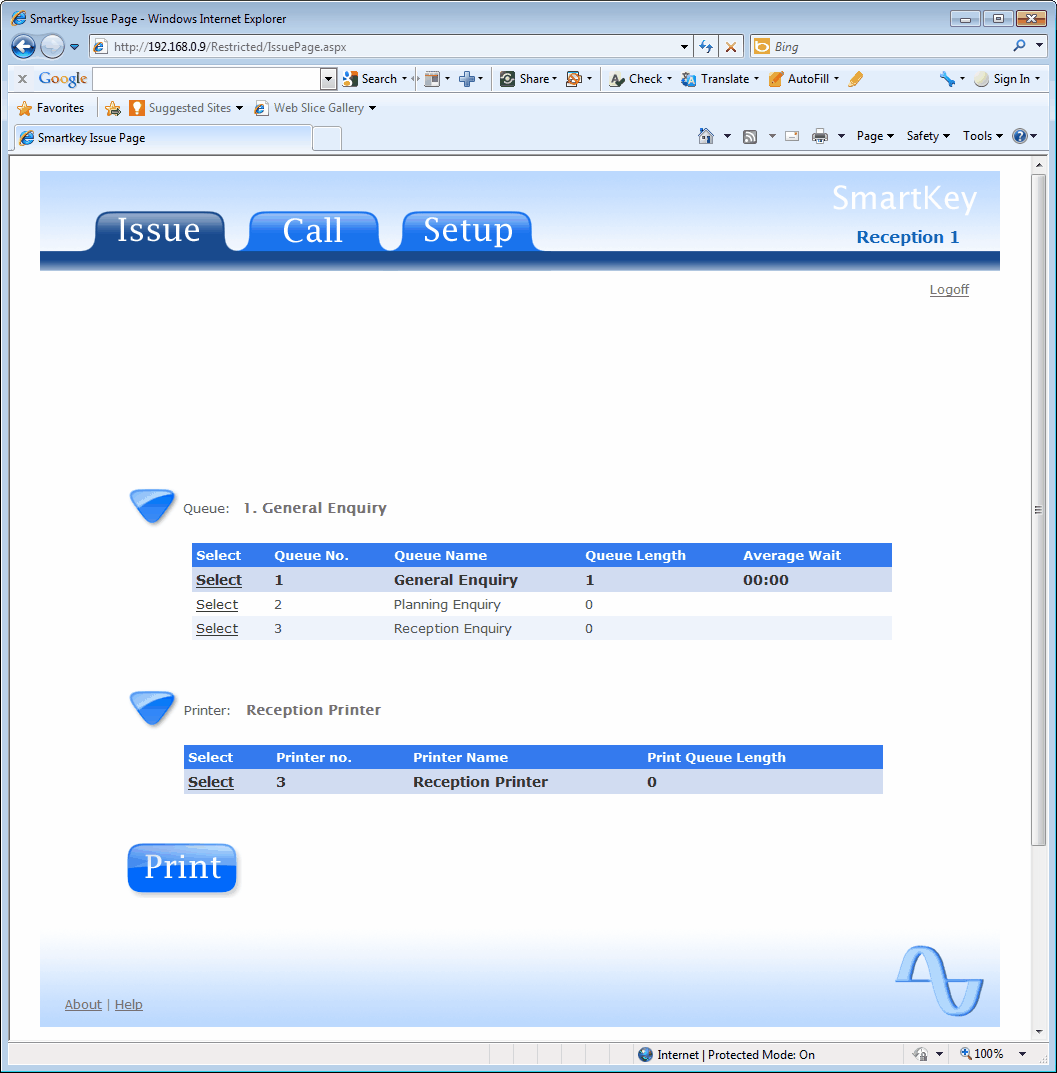
Issuing a ticket
First you need to select the Queue that you wish to issue a ticket for by clicking 'Select' next to the desired Queue. Note: If the list of available Queues is not on display, Click the triangle next to 'Queue' to display the list.
Next click the triangle next to 'Printer' and select the smartPrinter you wish to print from by clicking the 'Select' next to the desired printer.
Finally to issue the ticket, click the Print button at the bottom of the screen. This will issue the ticket and cause it to be printed on the specified printer.
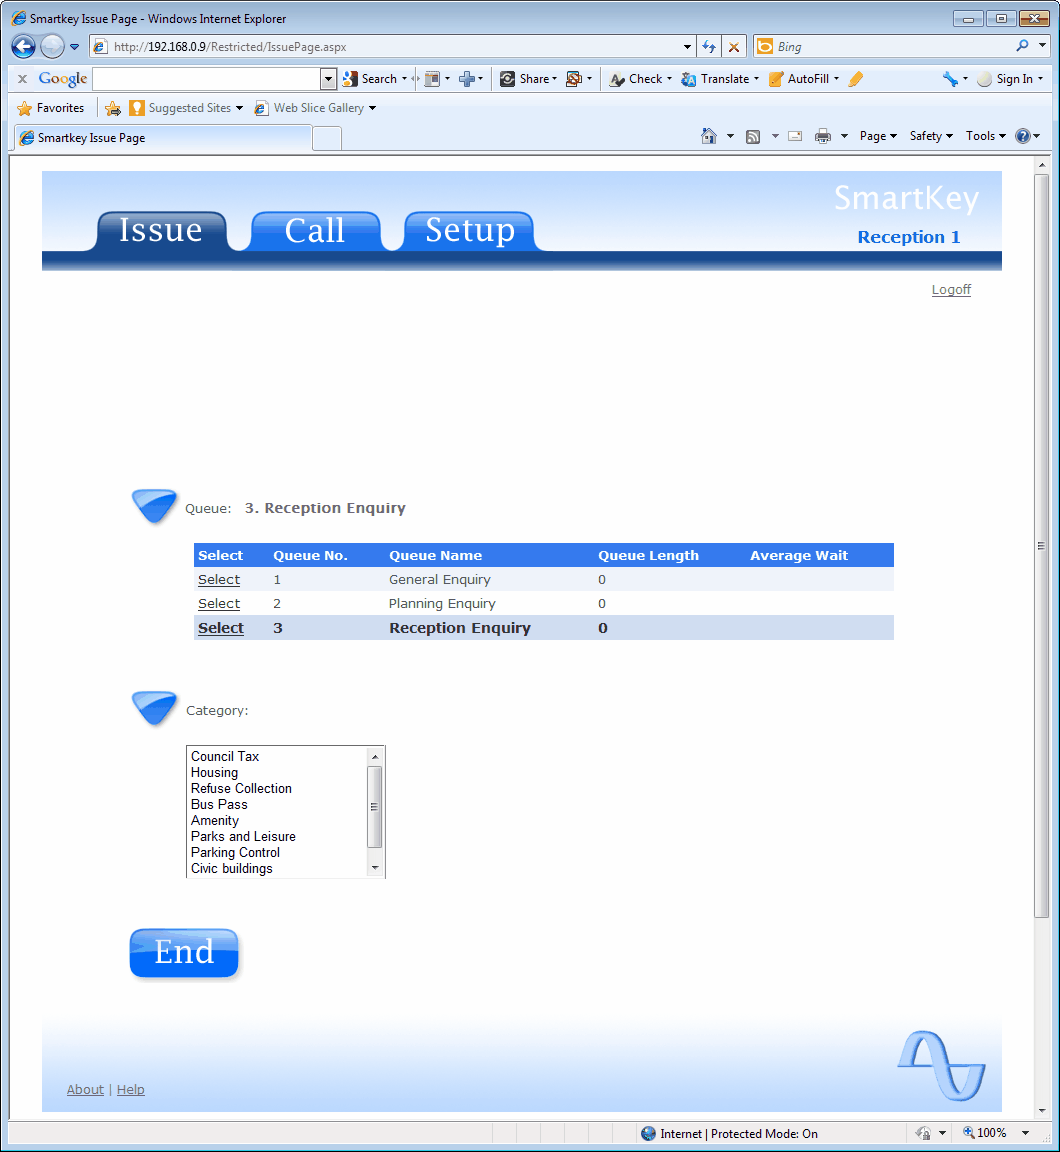
Recording Information without Issuing a Ticket
When running a Queue Management System using a Receptionist to issue tickets it is likely that not all the Customers will need to be placed into a Queue. It may be the Receptionist can dealt with the enquiry directly.
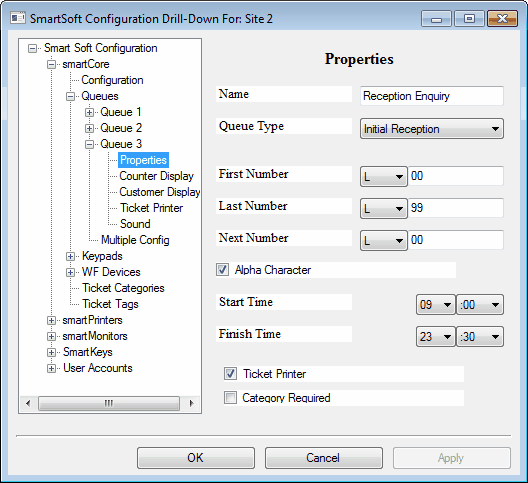
In order to record the information on the number of Customers served directly and the reason for the visit first you need to allocate a Queue for this purpose using smartCenter and set the Queue Type to Initial Reception. Make sure you also check the Ticket Printer check box. This ensure the chosen Queue will be appear on the SmartKey Issue Page.
When you select the Reception Enquiry the printer list will be replaced by a Category drop down list and the Print button replaced by an End button. Select one or more Categories from the list and click the End button. A ticket record will be generated with the Categories you selected attached.