Configuring SmartGateway |

|

|

|

|
||
|
Configuring SmartGateway |
|
|
|

|

|
Configuring SmartGateway
|
Configuring SmartGateway |
|
|
|
|
||
|
Configuring SmartGateway |
|
|
|
|
|
This involves setting up the IP address assigned to the SmartGateway and setting the server IP address and Port no. of the PC running SmartCore. The SmartGateway is shipped with IP address 192.168.0.103.
You will need the SmartGateway Login details that are supplied with the device.
SmartGateway Login
Open Internet Explorer and enter the SmartGateway address: http://192.168.0.103 in the address bar. This will bring up the LogIn screen where you must enter the Login details.
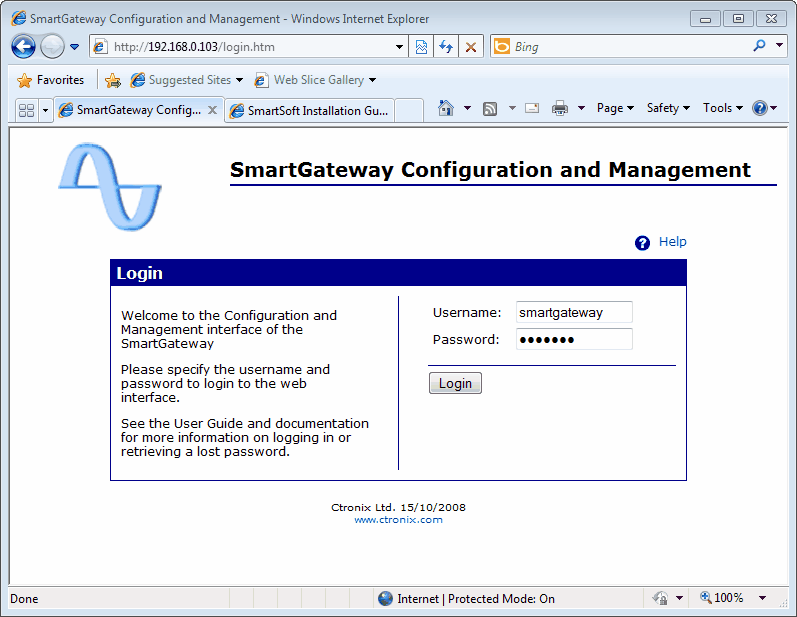
Note: If you are unable to connect to the SmartGateway check your network settings, particularly the subnet mask to ensure the IP address is reachable.
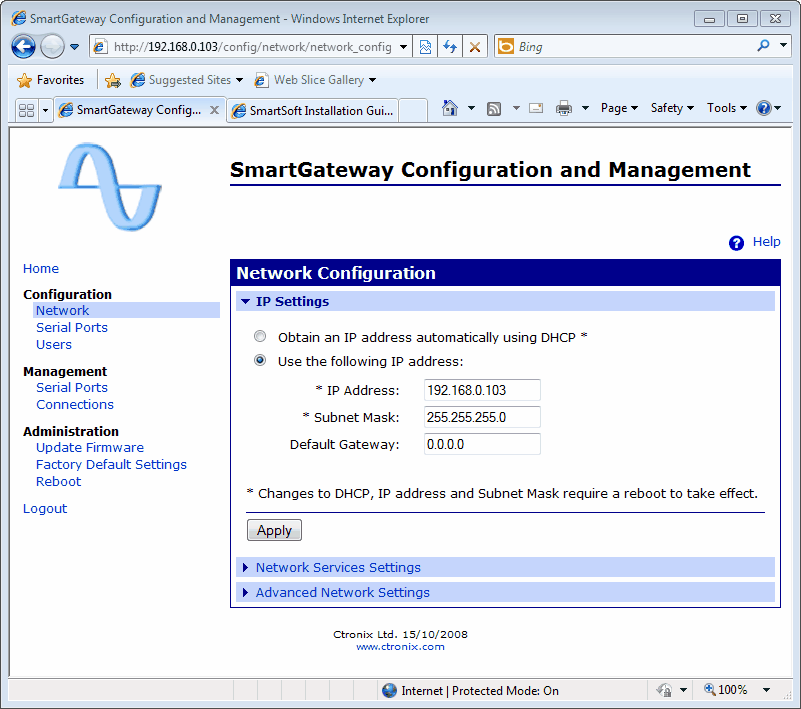
Setting a new SmartGateway IP Address
On the left column click Network to bring up the Network Configuration. You can now edit the IP address and Subnet mask used by the SmartGateway. Leave the default gateway set to 0.0.0.0. Once you have made changes click apply. You will then be prompted to reboot the SmartGateway which you can do although as there are other changes to make it is quicker not to reboot at this time.
Note: It is very important that you keep a record of the new IP address as without it you will not be able to contact the SmartGateway.
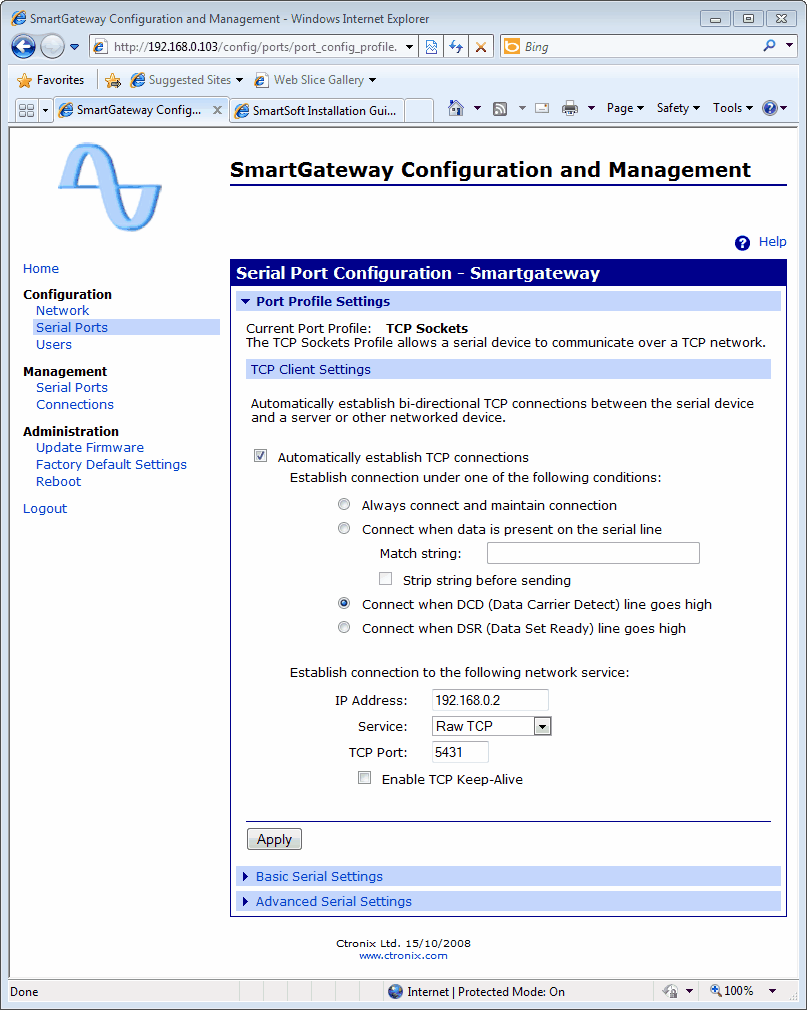
Setting the Server IP Address
SmartGateway needs to know the IP address and Port no. of the PC running SmartCore in order to connect to that PC. Click on Serial Ports in the left column and then select Port 1.
Ensure Automatically establish TCP connections and Connect when DCD (Data Carrier Detect) line goes high. In the section “Establish connection to the following network service” Set the IP address = address of the PC running SmartCore, Service = Raw TCP and TCP Port = 5431.
Click apply. Once the changes have been applied select Reboot in the left column to reboot the SmartGateway. If all is well the SmartGateway will automatically connect to SmartCore once the reboot has finished. The activity LEDs will start to flash blue/green to show the gateway is operational and connected to SmartCore..