

Printer Setup |

|

|

|

|
||
|
Printer Setup |
|
|
|

|

|
Printer Setup
|
Printer Setup |
|
|
|
|
||
|
Printer Setup |
|
|
|
|
|
To start smartPrinter click on the desktop short cut. Note: smartPrinter may already be running If you selected "Auto Start smartPrinter when Windows loads" during the installation process.
When running smartPrinter displays a notification Icon in the task bar notification area. Right click this Icon to bring up the context menu from which you should select Setup to open the setup form shown below. The first task you most likely want to do is to assign a printer to use for printing tickets.
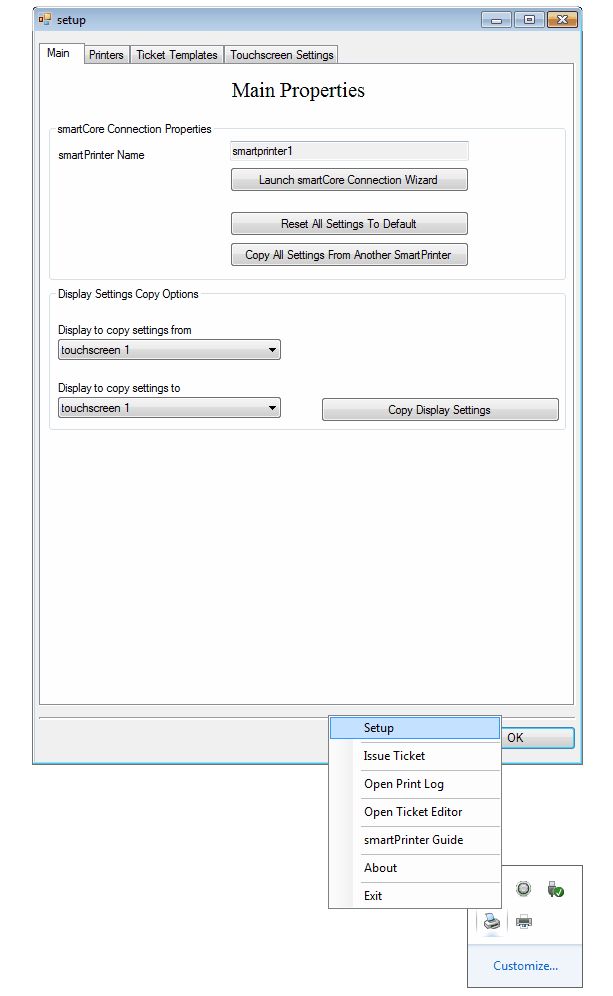
Assigning a ticket printer
To do this you first you need to add a smartPrinter Printer Device to which you will then assign a Windows printer.
Select the Printers Tab and click the "Add SmartPrinter Device" button.

In the Box that pops up enter a name for the Printer. This will be the name displayed in SmartKey.
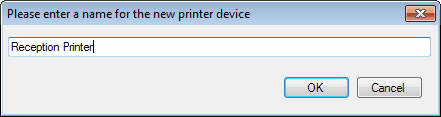
Click OK and then click the "Assign New Printer" button to assign a Windows printer to this new device.
This will bring up a box containing all the known Windows printers on the computer. Select the Printer you wish to use for printing tickets and click OK.

In the form below the smartPrinter Printer Device has been called "Reception Printer" and it is assigned to use the Windows printer "Star TSP100 Cutter (TSP143)".
Note: Do not check "Enable Status Reporting" unless you are using a Ctronix VKP 80II Wall Mounter ticket printer.
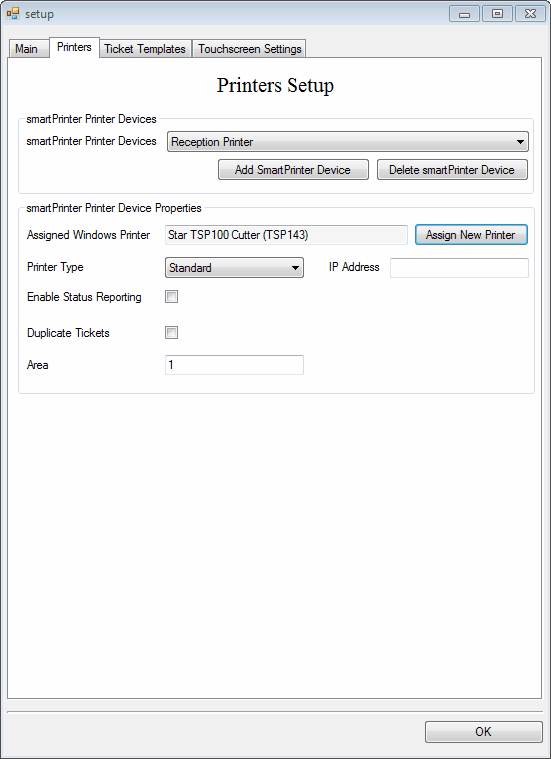
Once you have the printer assigned you should create a ticket template.
Creating a Ticket Template
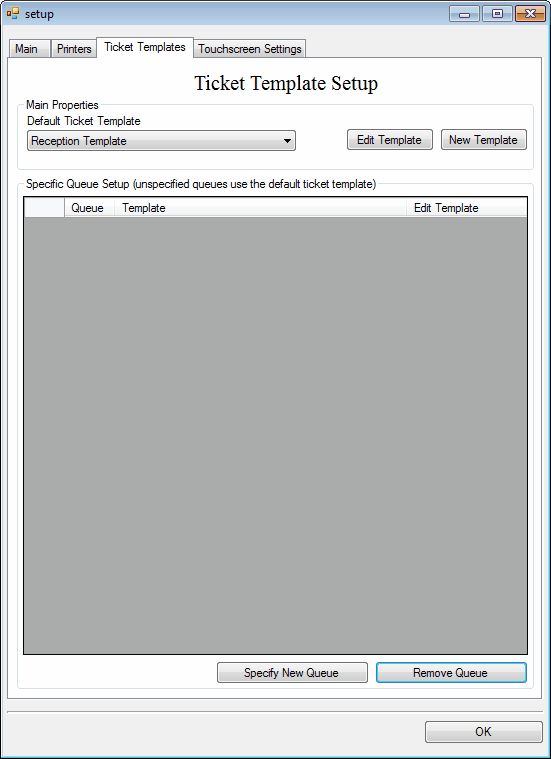
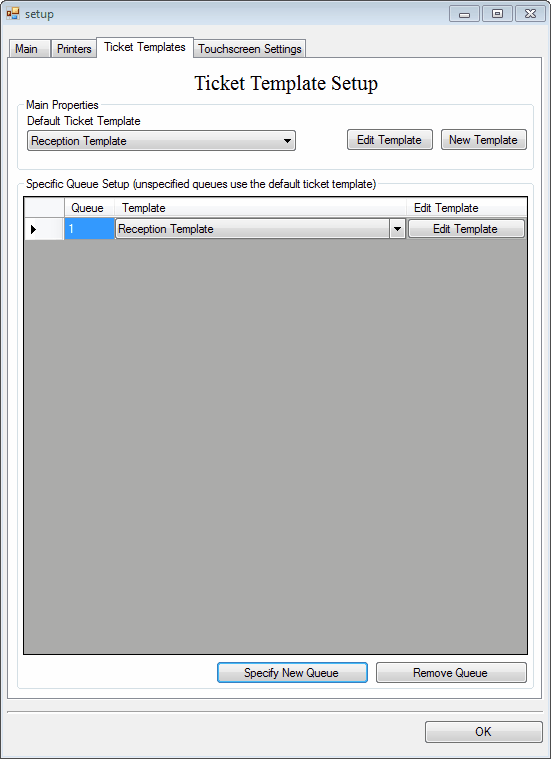
Click the Ticket Templates Tab to open the Ticket Template Setup form.
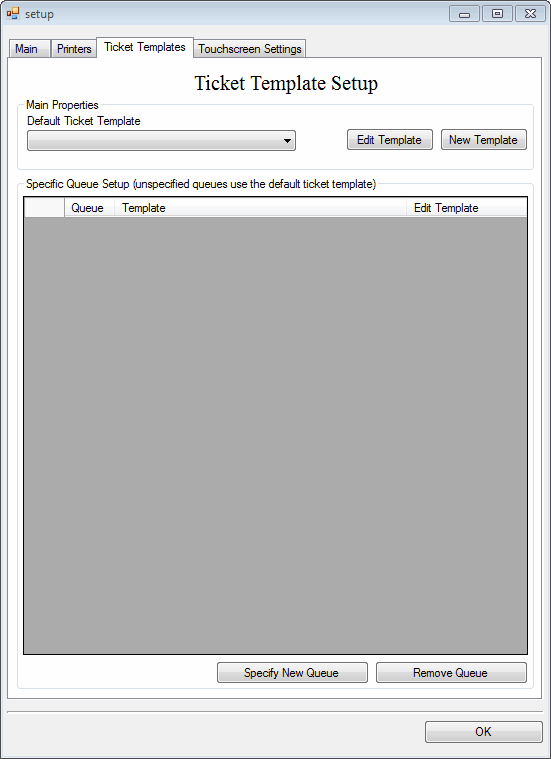
Click the "New Template" button to bring up the ticket editor and from the File Menu select "Load Default Template".
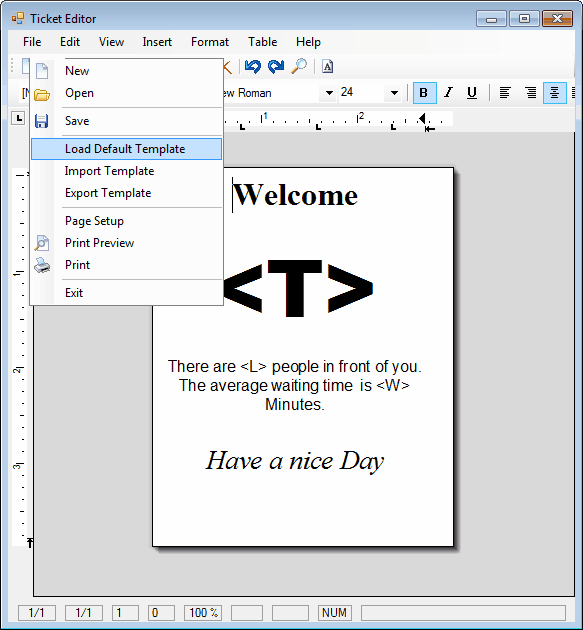
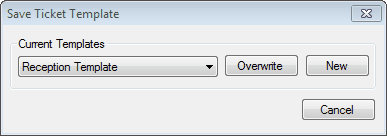
Edit the template as required and then select Save from the File Menu. A Save Ticket Template form will pop up where you can choose to overwrite an existing template or create a new ticket template.
Queues and Templates
The chosen default ticket template will be used by all Queues when printing tickets.
If you want a Queue to use a specific template you need to press the "Specify New Queue" button on the Ticket Template Setup form.
A pop up form will appear where you can specify a Queue and the Ticket Template it should use.
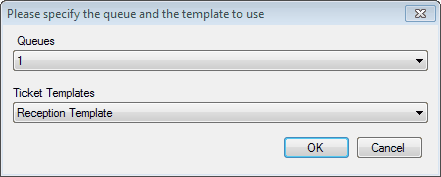
Once you have made your selection press OK and your selection will be saved.
Testing your Ticket Printer
To test your Ticket Printer Setup right click the smartPrinter Icon in the Notification area and select Issue Ticket from the pop up menu.